AgroHack
A hands on workshop for an agrotech hackathon 🌽
Create a storage account to store telemetry data
In the previous step, you exported IoT telemetry to Azure Event Hubs. In this step, you will create a storage account to store telemetry data.
Azure blob storage
Azure blob storage allows you to store blobs of unstructured data that can be easily access from other Azure services, such as Azure ML Studio.
Azure has a concept of storage accounts, which wrap a range of storage services including file, table and blob. Blob storage uses collections to store different data in.
Create a storage account and collection
There are two ways to create a storage account - from the Azure Portal or the Azure CLI.
Use the Azure Portal
-
Open the Azure Portal
-
Log in with your Microsoft account if required
Create the storage account
-
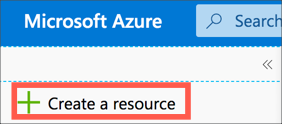
From the left-hand menu select + Create a resource
-
Search for
storage accountand select Storage account - blob, file, table, queue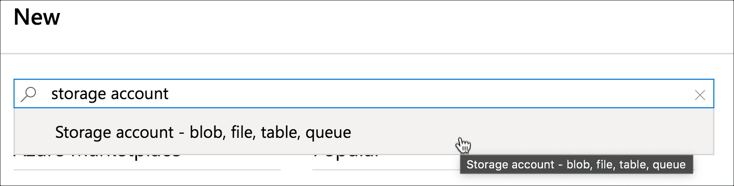
-
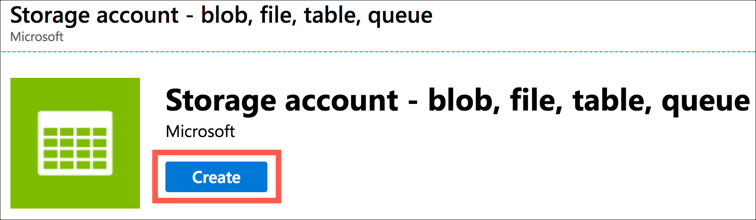
Select Create
-
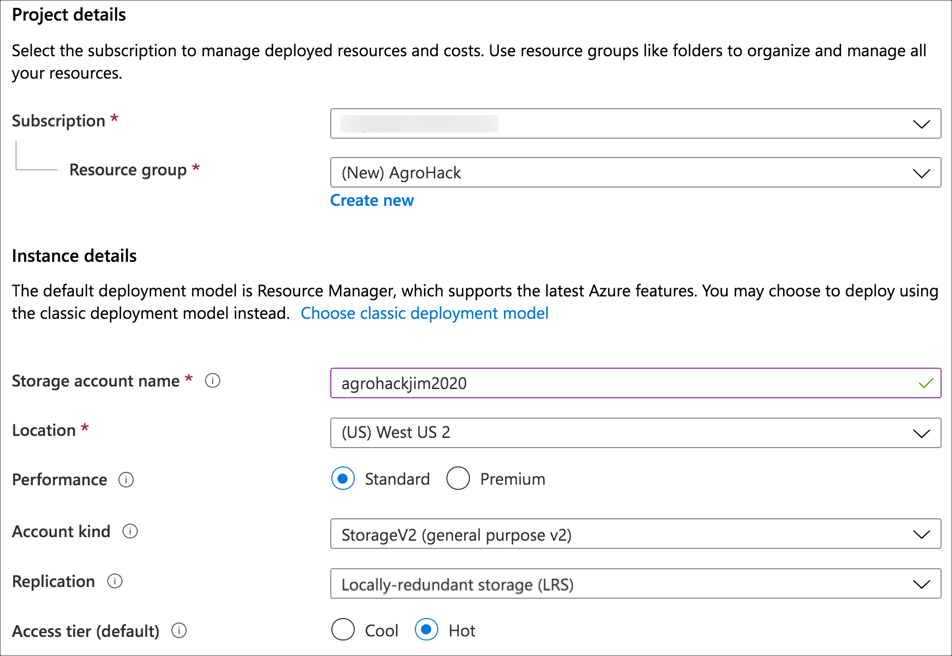
Fill in the details for the storage account
-
Select your Azure subscription
-
For the Resource group, select AgroHack
-
Give the storage account a name. This needs to be globally unique, so include things such as the data or your name, for example
agrohackjim2020. To make it easier, name it the same as your Azure IoT Central app. -
Select a Location closest to you, the same location you used in the previous step to create the resource group and event hubs.
-
Set the Replication to be
Locally-redundant storage (LRS)as this is the cheapest option. For production workloads you would want better redundancy, read the documentation on data redundancy for more details on this. -
Leave the rest of the options as the defaults
-
-
Select Review + create
-
Select Create
-
Once the deployment has completed, select the Go to resource button.
Create the collection
-
Search for
Containersin the resource menu, and select it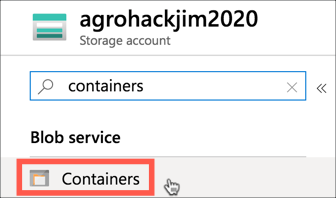
-
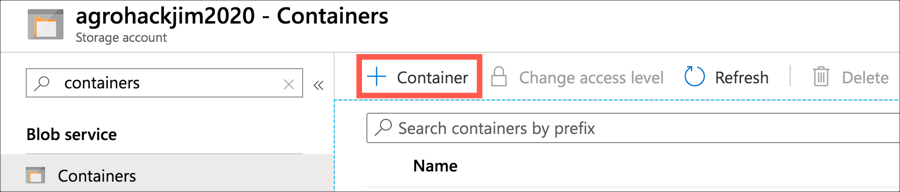
Select + Container
-
Name the container
environmentdata. Leave the Public access level asPrivate (No anonymous access). Then select OK.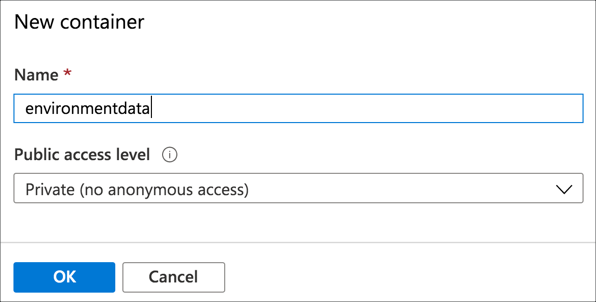
Use the Azure CLI
Create the storage account
-
Create the storage account using the following command
az storage account create
 --location <location>
 --name <account_name>
 --resource-group AgroHack
 --sku Standard_LRS
For the
<location>, use the name of the location closest to you.For the
<account_name>, pick a name that is globally unique, so include things such as the date or your name, for exampleagrohackjim2020. To make it easier, name it the same as your Azure IoT Central app.The
-resource-group AgroHacksetting adds this storage account to the new Resource Group you created in the previous step.The
--sku Standard_LRSsetting sets the data replication to beLocally-redundant storage (LRS)as this is the cheapest option. For production workloads you would want better redundancy, read the documentation on data redundancy for more details on this.
Create the collection
-
Get the account keys for the new storage account. These access keys can be used to provide access to the storage account in the CLI and create the container. Get these by running the following command.
az storage account keys list
 --account-name <account_name>
 --resource-group AgroHack
 --output table
For
<account_name>use the name you used for the storage account.The account keys are listed in the
Valuecolumn of the output. -
Create the collection with the following command
az storage container create
 --name environmentdata
 --account-name <account_name>
 --account-key <account_key>
For
<account_name>use the name you used for the storage account.For
<account_key>use one of the keys from the previous step.
In this step you created a storage account to store telemetry data. In the next step you will use Azure Stream Analytics to stream data into the storage account.